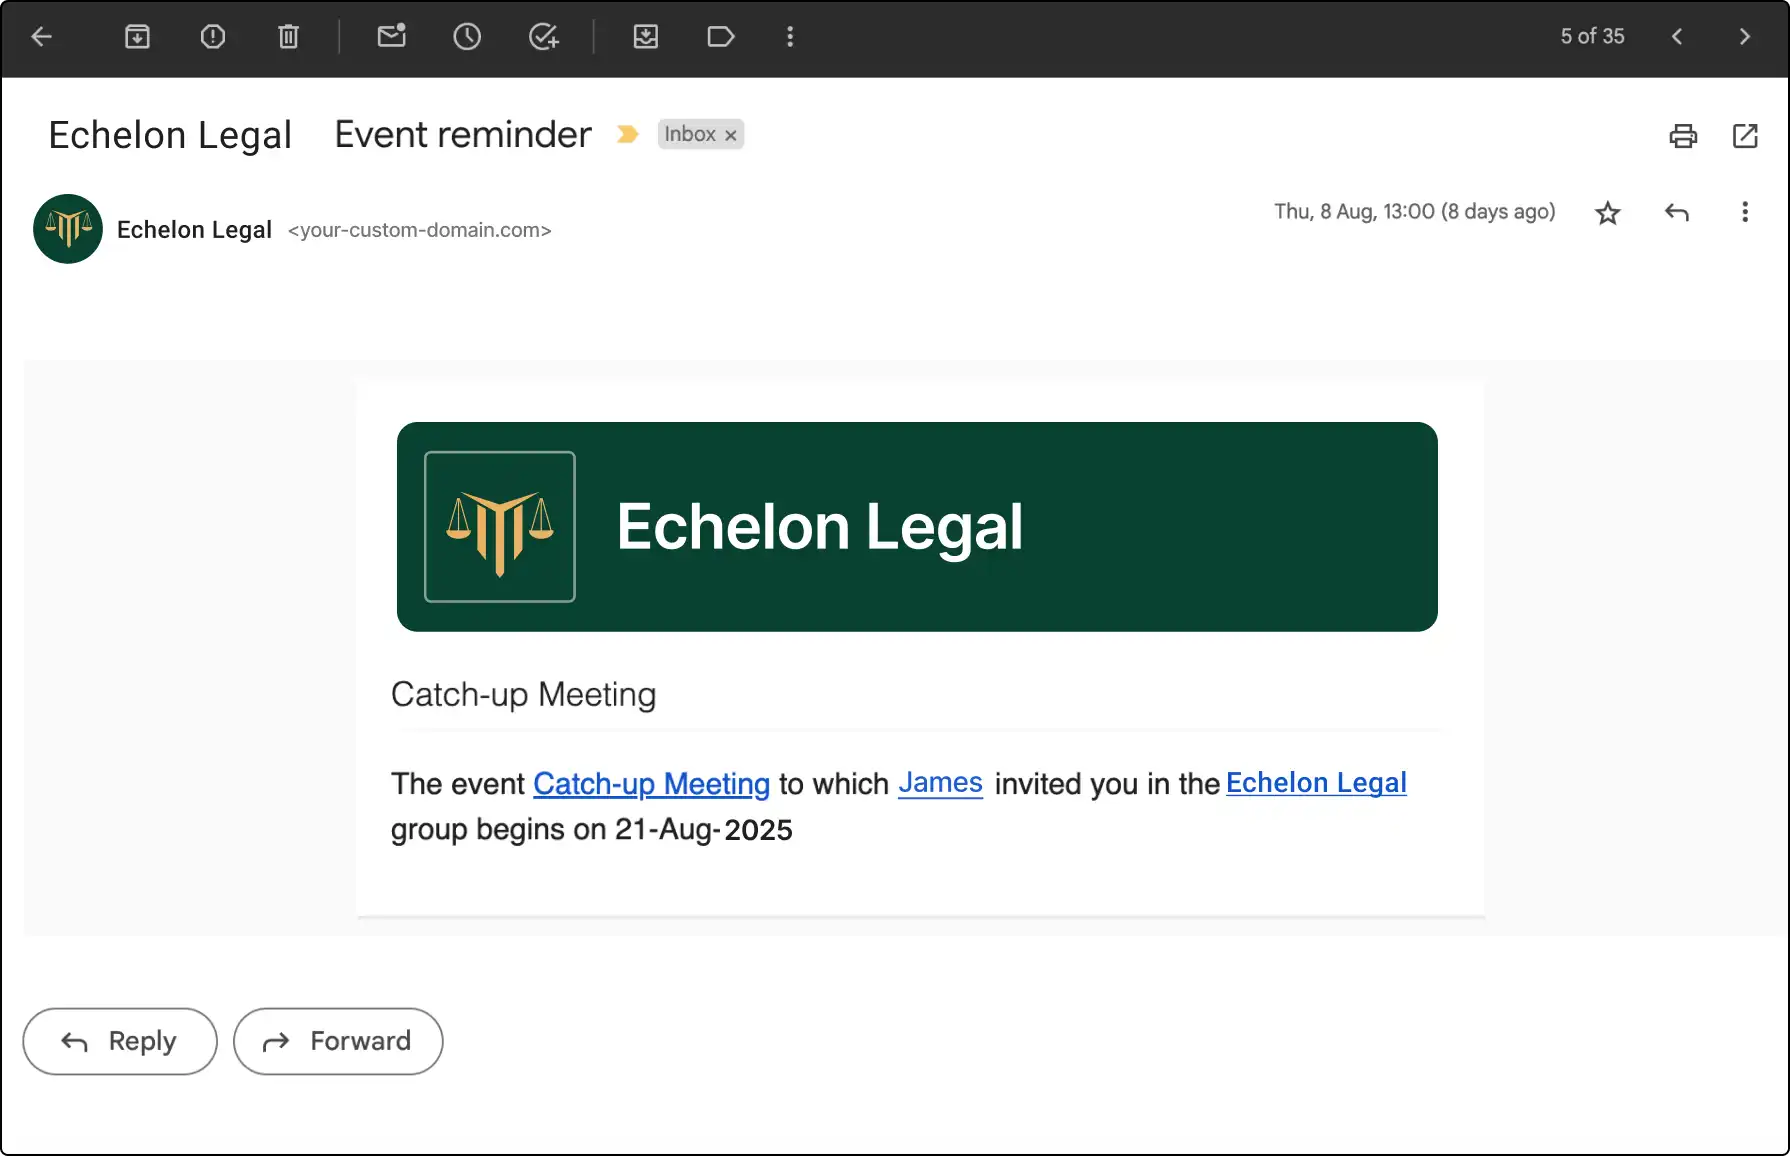
Elevate Your Branding with Custom Email Domain
Enhance your professional image by sending email notifications from your own domain. Available across all Clinked packages, this feature ensures your communications are consistently branded and professional.


How to Set Up Custom Email Domain with DNS Authentication
Set up your custom email domain using DNS authentication through third-party providers like GoDaddy or Wix.
- Navigate to Account Settings > Organization & Domain.
- Turn on the Custom Domain feature and select DNS Authentication.
- Enter your desired email address and submit for verification.
- Log into your DNS provider and create CNAME records.
- Verify your setup in Clinked.
Setup with SendGrid
Use SendGrid for custom email domains if you have an account:
- Set up or log into your SendGrid account.
- Navigate to Account Settings > Organization & Domain.
- Turn on the Custom Domain feature and select SendGrid.
- Enter the required API key and email address.
- Enable the feature.


