Streamline Document Signing with DocuSign Integration
Integrate DocuSign with Clinked to easily request, review, and manage document signatures. Enhance your workflow by automating the signature process and tracking document status.
Connecting DocuSign to Clinked

Enable DocuSign integration across your account for seamless document signing.
- Navigate to Account Settings > Integrations.
- Locate DocuSign integration and toggle it on.
- Authenticate with DocuSign to grant permission.
How to Request Signatures

Request signatures on documents directly through Clinked.
- Navigate to the file and click the three dots.
- Select DocuSign and click “Request Signature.”
- Enter recipient details and preview in DocuSign.
- Make adjustments and click "Send."
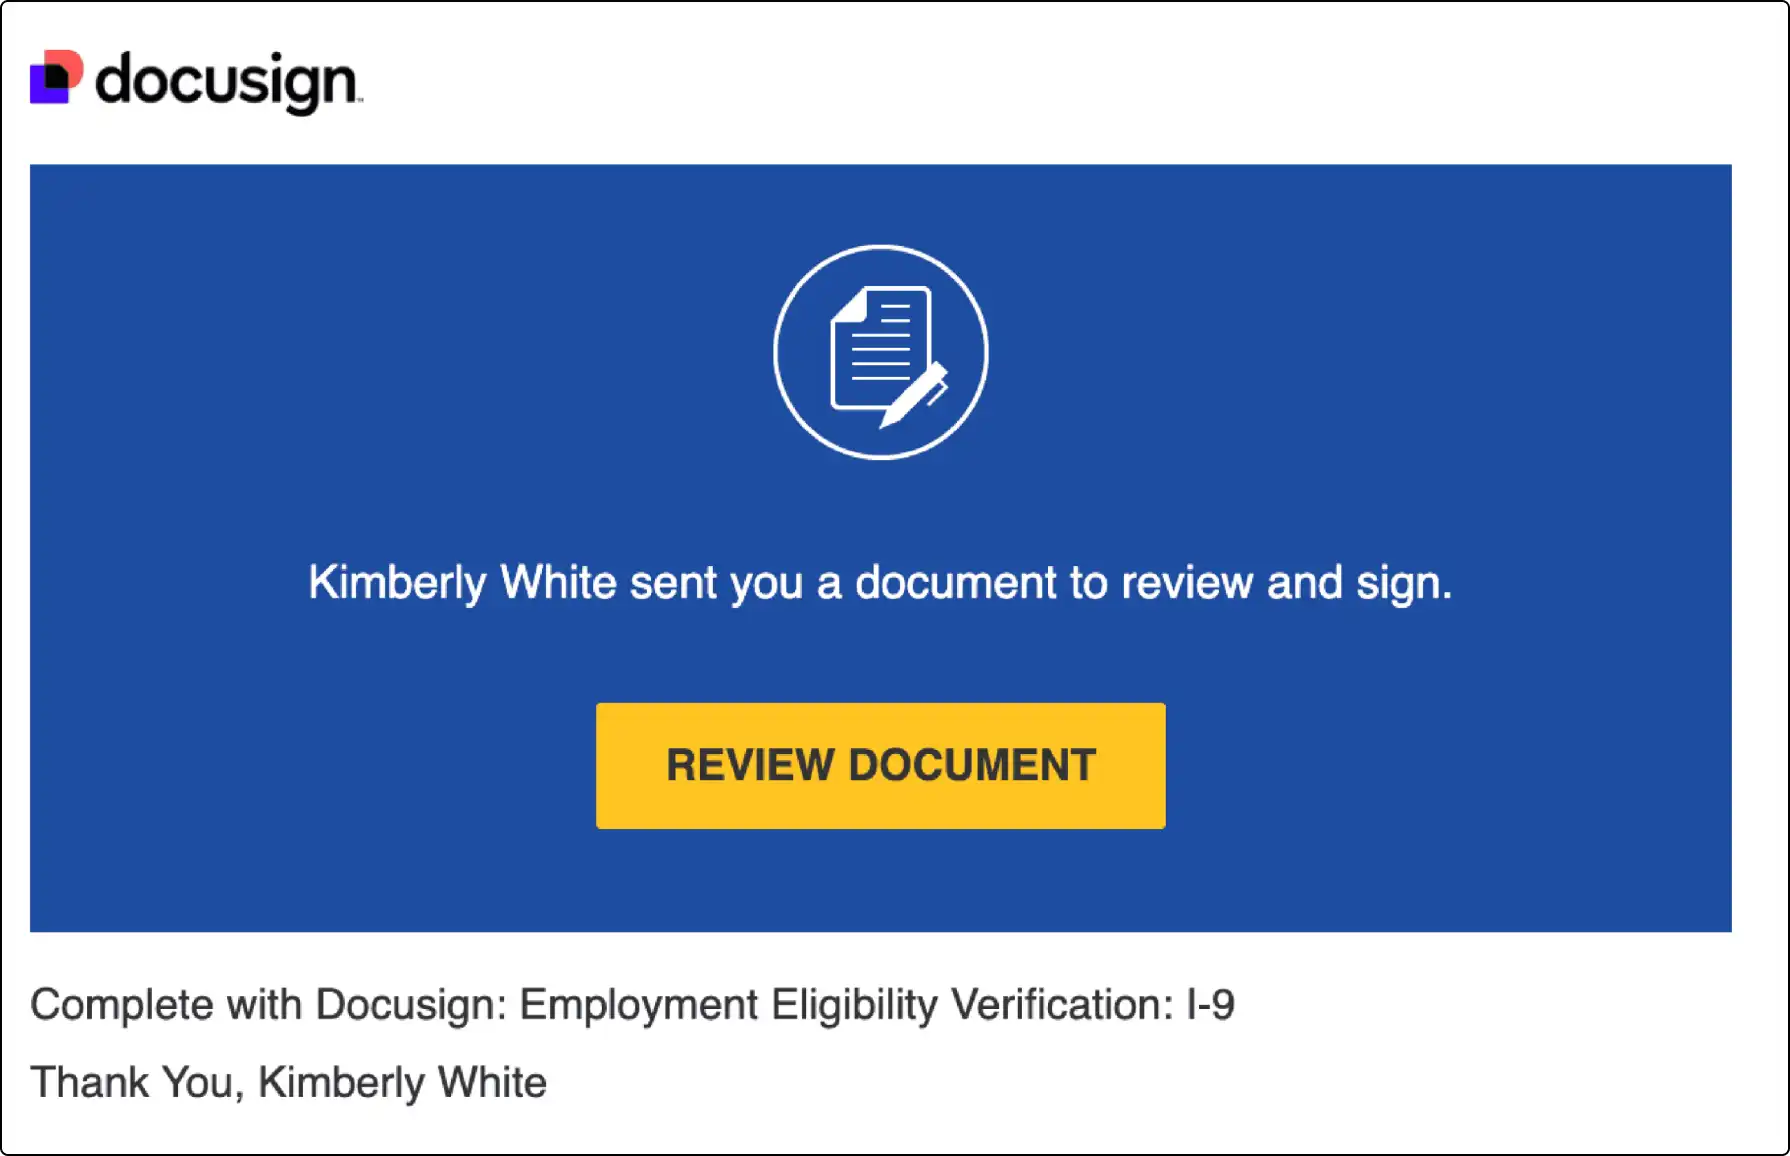
Reviewing and Signing Documents

Recipients can easily review and sign documents through email.
- Open the email from DocuSign and click “Review Document.”
- Review the document, sign, and click “Finish.”
Monitor Signature Status

Check the status of your documents within Clinked.
- Navigate to the document in Clinked.
- Click the three dots and select DocuSign.
- View the document status (waiting or signed).