Two-factor authentication

An Extra Level Of Security For Your Platform

Two factor authentication is included within all Clinked subscription packages, with each account given the opportunity to provide their portal with an additional level of security. It will increase the security of your account by triggering a two-step process prior to logging into your platform.

Activate Two Factor Authentication For Your Whole Portal

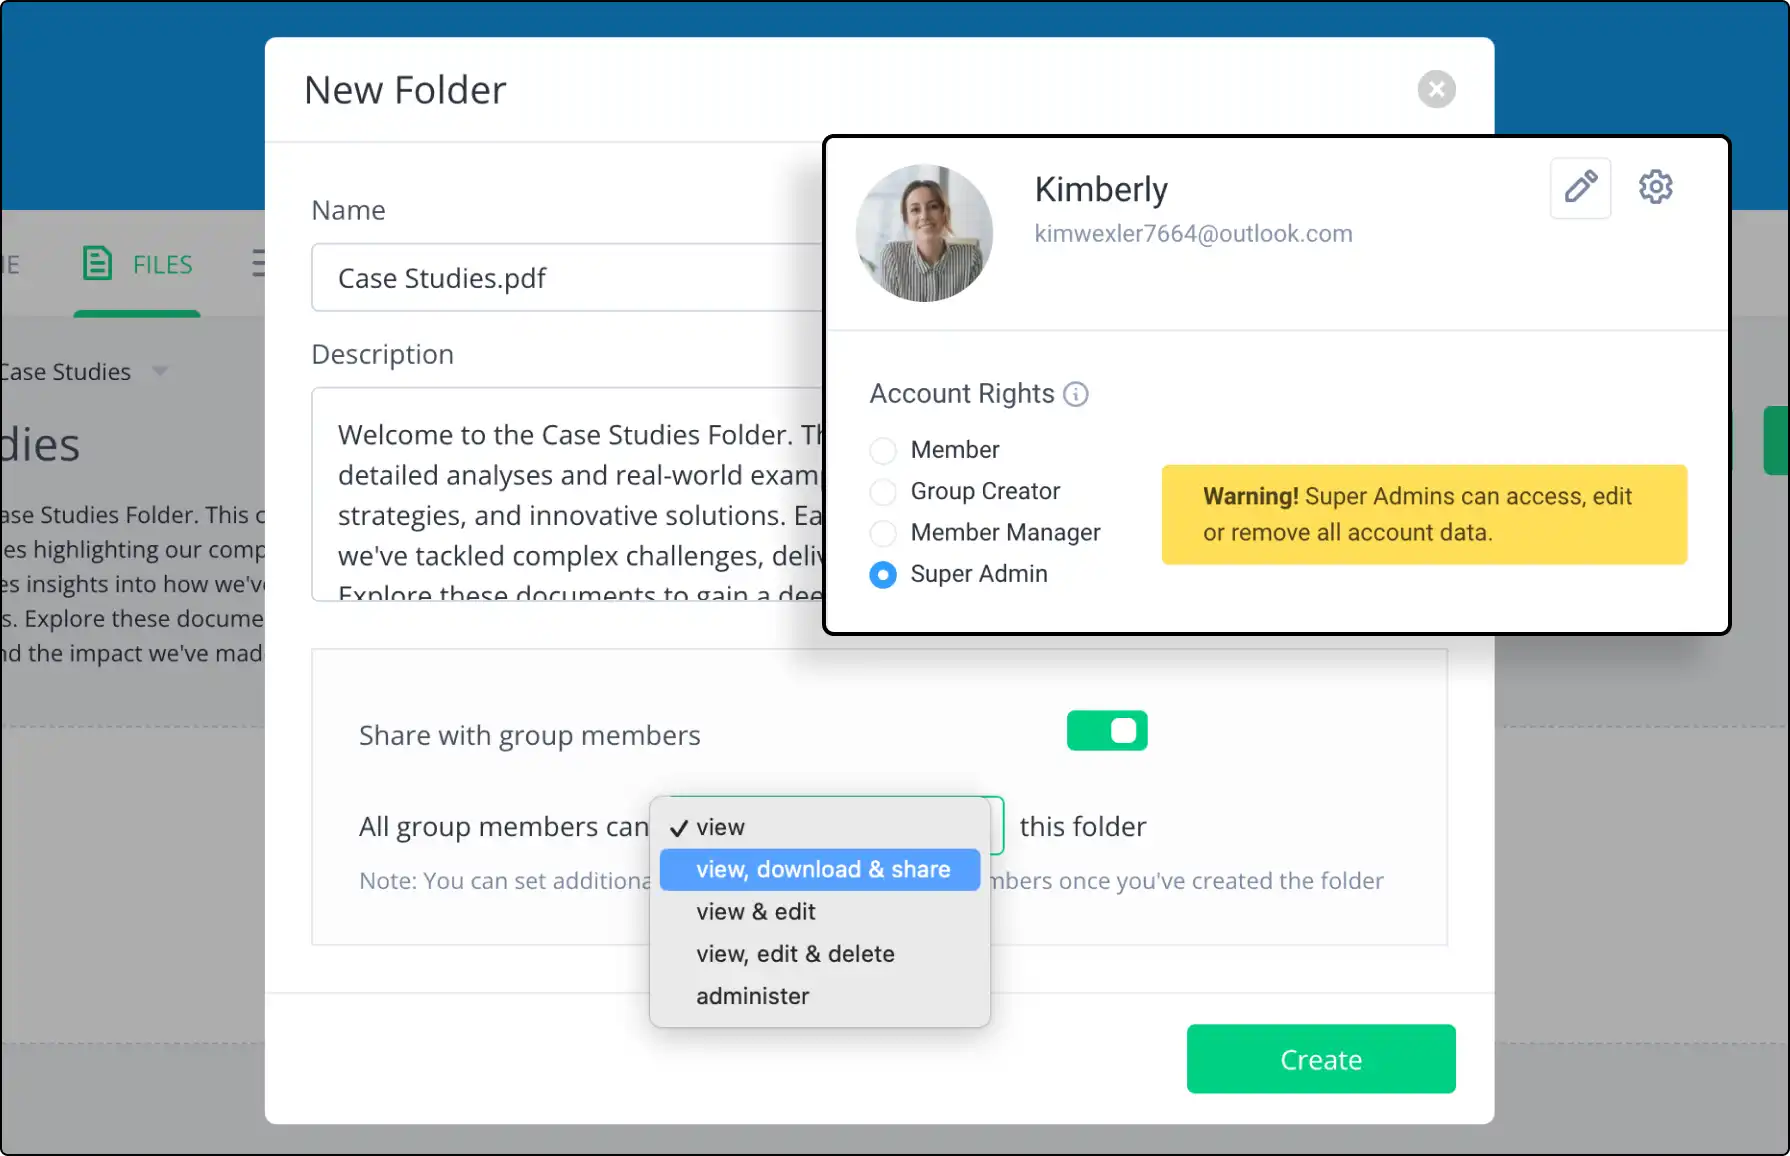
You must be a super-administrator in order activate 2FA for all members of your portal. To do this:

  1. When logged into your portal, go to the drop down menu that is present in the top menu bar next to your name. Navigate to Account Settings.
  2. Now when in your portals account settings, go to the Security and Authentication sub-heading. Within this you will see an area for two factor authentication.
  3. Check the tick-box and enable two factor authentication, then be sure to click Update.

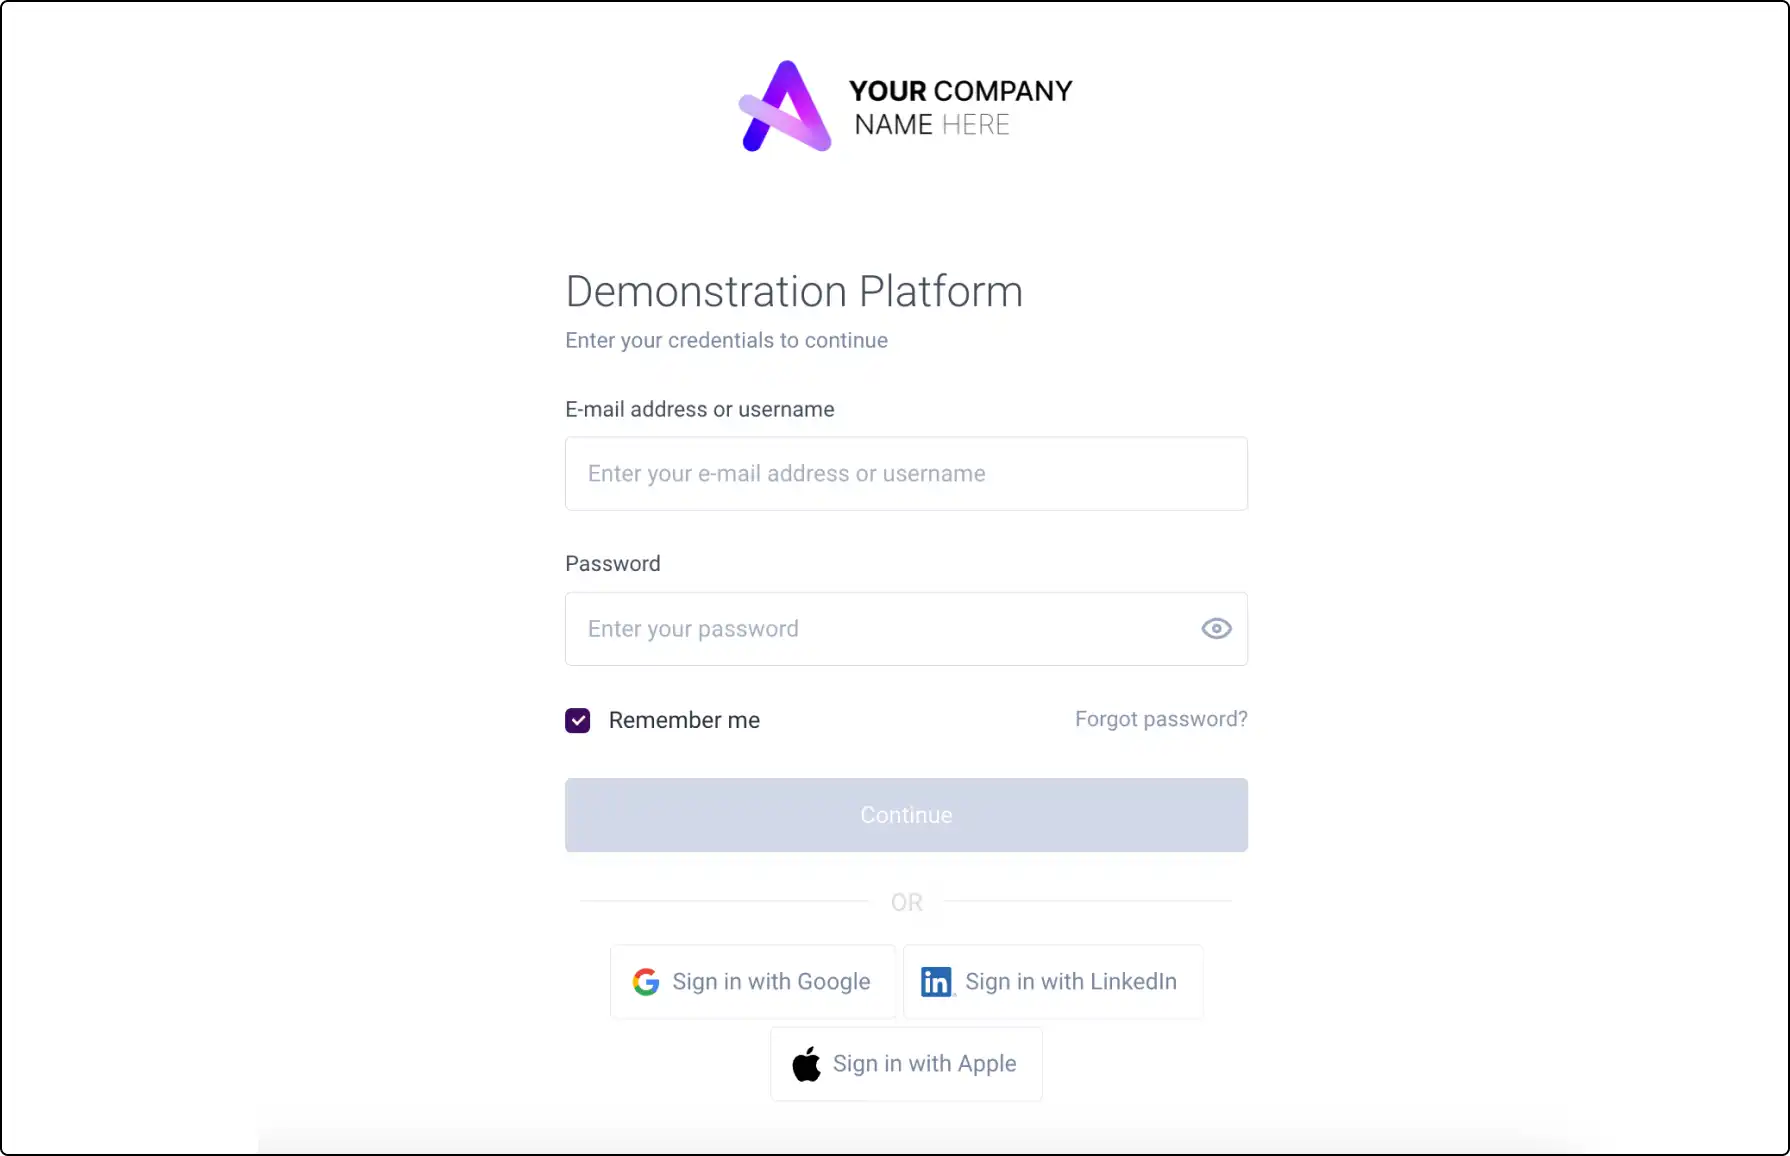
The first time you log once 2FA has been enabled, you will be presented with two options. You can either verify your identity through an Authenticator or through SMS. Please select the method you wish to use each time you sign in, you will be required to enter both your password and an authentication code every time you log into your account.

De-Activating Two Factor Authentication For Your Portal

Disabling 2FA will no longer require the members of your portal to enter an authentication code and confirm their identity when logging into the portal. Again this can only be done by super-admin members of the account.

  1. Go into your Account settings.
  2. Within the Security and authentication subheading, you will see a 2FA box.
  3. There will be a tick-box that says Require everyone to use two-factor authentication for signing in.
  4. Untick this box and select Update. This will disable 2FA for all of the accounts within your portal.

Two Factor Authentication Using An Authenticator

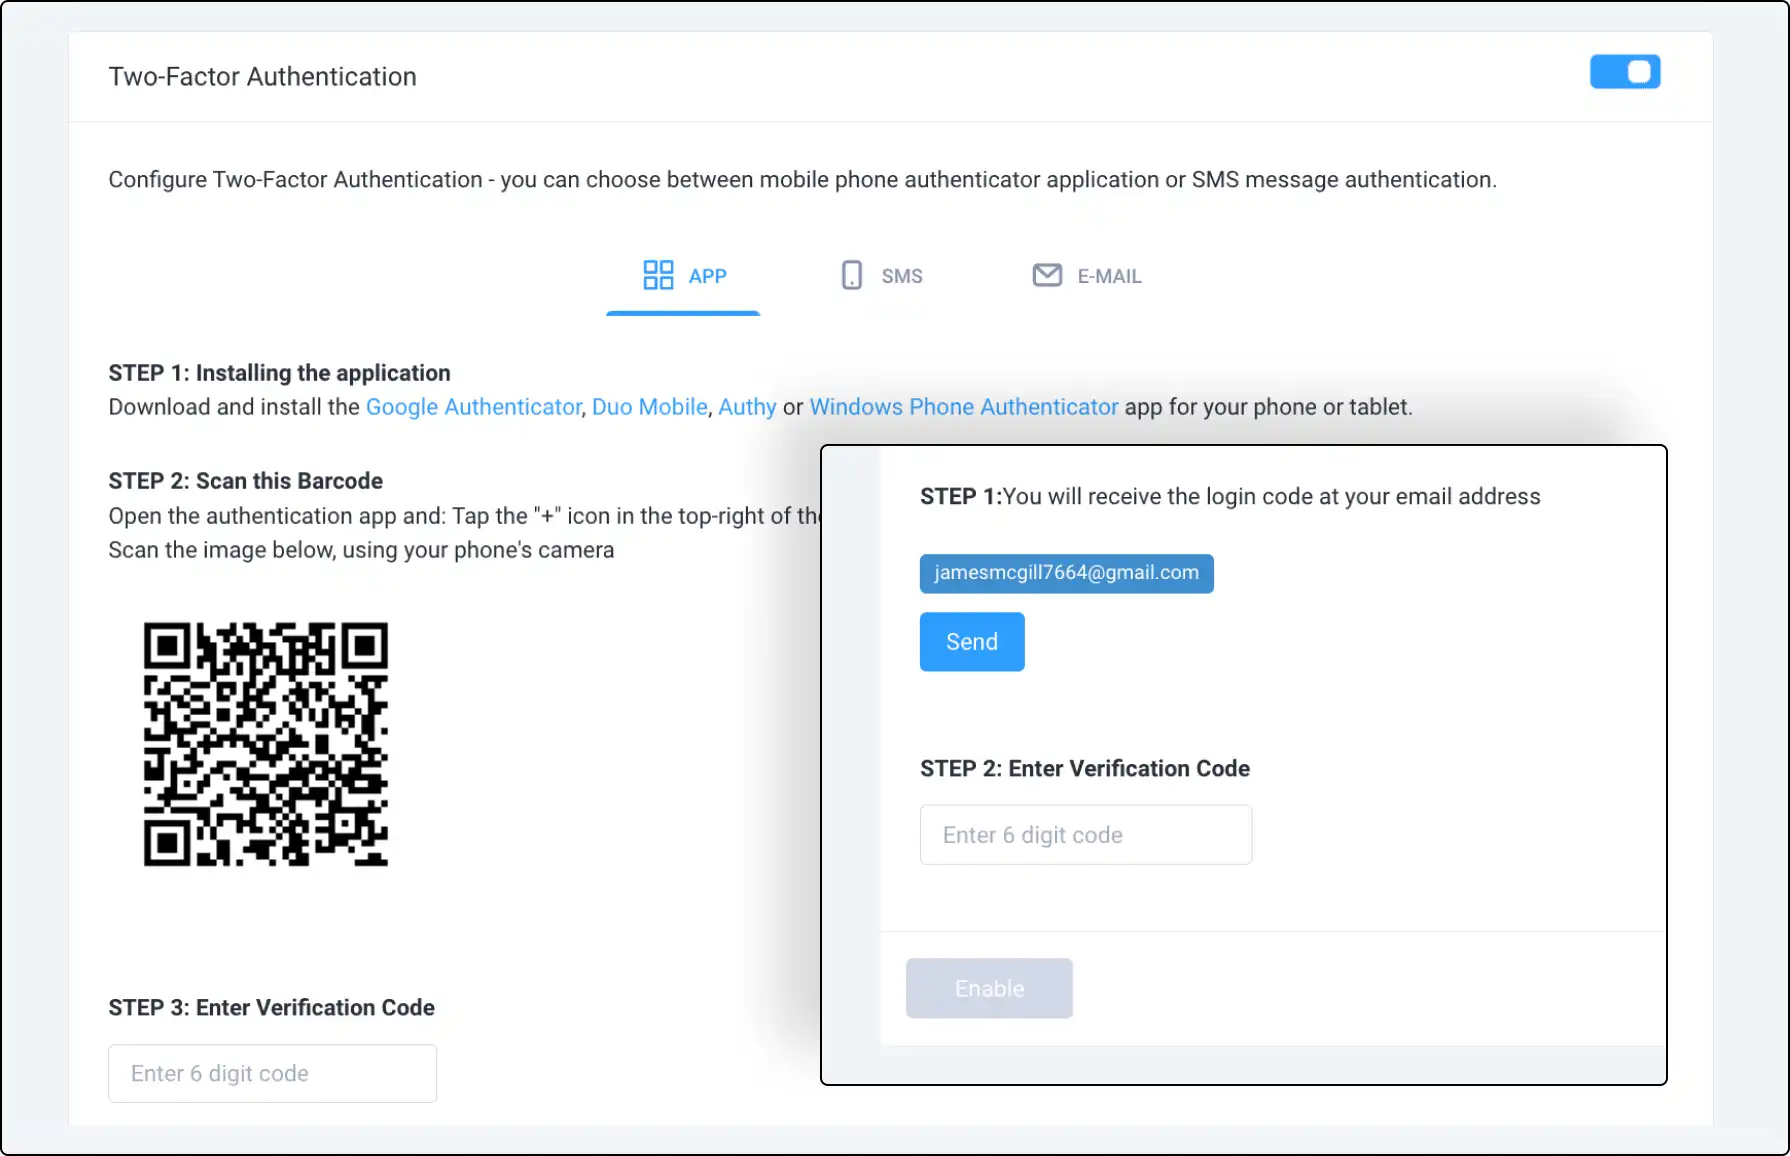
To use an Authenticator as your method of 2FA When presented the Two factor authentication options, Ensure you are on the Authenticator tab (this should be the default)

  1. As per the instructions on the tab, download your authenticator of choice. (I will be using Google Authenticator).
  2. When your authenticator app has downloaded, open the app and scan the barcode shown within the tab.
  3. Once this is scanned, a verification code will appear. Enter this into the code section (Be sure to do this quickly as the code is only available for a limited amount of time).
  4. Click verify code and you will be granted access to your account!

From then on out, when signing in it will trigger the 2FA and you can simply go onto your Google Authenticator App and use the code shown to activate your account, you will not need to scan the barcode each time.

Two Factor Authentication Using SMS

The alternative method to confirm your identity is to use SMS. Instead of using an authenticator, you will be sent your authentication code via SMS message to your mobile phone.

  1. Select the appropriate country from the dropdown menu. (The code will not send if you have the wrong country selected)
  2. Enter the phone number that you wish to receive the code on each time you log in. Click Send.
  3. You will be sent an authentication code to your mobile, simply enter the code and click Verify code.

Then, every time you attempt to log in a new code will be sent to your mobile.

Activate Two Factor Authentication For Your Individual Account

Alternatively, you can enable two factor authentication for just your individual account. This is a personal setting that can be done by any member regardless of your permissions. However, please note that when enabling it for just your account, it will only apply to your individual login and not to the portal as a whole.

  1. When logged into your portal, go to the drop-down that is in the menu bar next to your name.
  2. Within this dropdown, select Personal Settings.
  3. Then in the Password and Security sub-heading, there will be a box titled Two factor authentication.
  1. Click Activate Two factor authentication.
  1. Then you will be asked to select your method of 2FA. Choose your preferred method and then enter your code. This code will either be generated by an authenticator or sent to your mobile, depending on the method you chose.
  1. Click Verify code.

Two factor authentication will then be activated for your account, you will be provided back up-codes that will give you access to your account if you are away from your usual authentication device.

Deactivate Two Factor Authentication For Your Individual Account

To no longer require two factor authentication when logging into your account:

  1. Go back into your Personal settings.
  2. Within the Password and Security subheading go to the two factor authentication box.
  3. Select the De-activate two factor authentication button and it will be disabled for your account.

Back-up Codes

After successfully logging in with any method of 2FA, you will be given a list of personalised back-up codes. These can be used to get into your account if you are unable to access your authentication device. We would suggest either printing these off or copying and pasting them into a document that you then save onto your desktop.

More Features From Clinked

Single Sign On

Save time and the hassle of remembering multiple sets of login details with the use of Single Sign on for your Clinked portal.

Password Control

Super Admins have the option to change the password criteria for all members with access to the portal if needed.

Secure Access

Clinked offers you highest possible security regarding storage and accessibility for you and your clients.

Streamline your business. Engage your clients.

Choose a Clinked Client Portal for your Business. Upgrade your client experience today with our fully white label, best in class client portal.

Clinked Client Portal Free 10 Day trial